I’ve had the pleasure of working with this company. All opinions are my own.
As I’m writing this blog post, I can almost hear Julie Andrews singing “These are a few of my favorite things…” Although I could blame this on watching a bunch of old movies like The Sound of Music on Disney+ this summer, I’m confident that this tune is rooted in my love for the two tools I feature in today’s blog post.
Regular readers of the blog (sign up for the newsletter), know that I love the Adobe Spark tools. You might remember this post with some resources for distance learning, or you might even have a copy of the book that Ben Forta and I wrote with activities featuring Spark. It’s called 40 Ways to Inject Creativity into Your Classroom with Adobe Spark.
Spark Post and Flipgrid Shorts
If you are totally new to Flipgrid Shorts, I definitely recommend you check out this summer episode of the Easy EdTech Podcast. I chatted with Ann Kozma and Mike Mohammed, all about Flipgrid Shorts. They shared lots of fantastic ideas, and you can press play below this paragraph or find the episode on Spotify or your favorite podcast app.
Essentially, Flipgrid Shorts is a feature within Flipgrid, that lets you create short videos. You can make instructional videos on any topic with this tool. It’s completely free, and you can access it from your Flipgrid account. The combination we will look at in this blog post is with graphics you can create in Spark Post. Flipgrid lets you add a graphic to your screen, and I’ll take you through the steps here.
How to create a graphic
First, establish a goal for your video. In my video example for this post, my goal is to share directions with students. They will create a poster with a composting tip, and I want to share some examples. Instead of writing out the instructions, I want them to see my excitement and energy and look at a few examples.
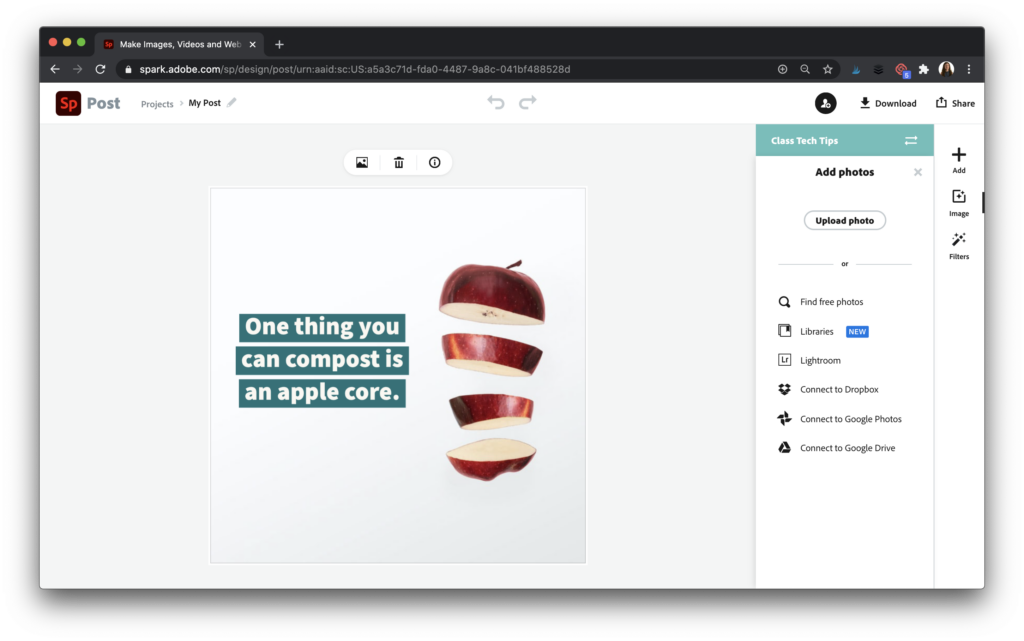
Next, head over to Adobe Spark’s website and make your graphic. I chose to make a square graphic in the example below. If you haven’t used Spark Post before, this blog post shares more information about the steps you can follow. Save your graphic as a JPG to your device — we’ll add that to our Flipgrid Shorts in a moment.
Get started with Spark for Education >>>
How to set up your video
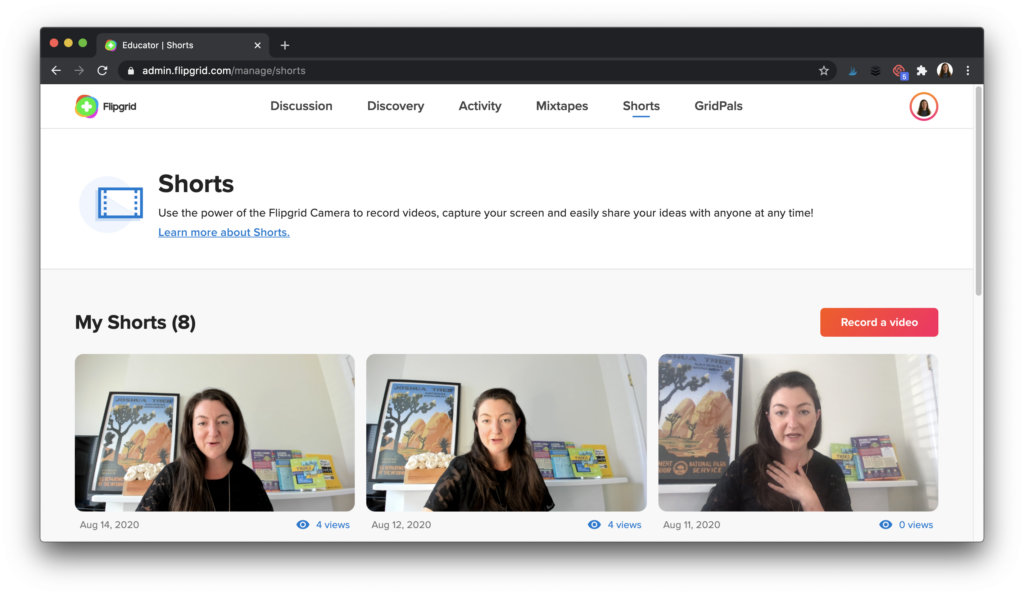
Then, open up Flipgrid. Once you are inside of Flipgrid, head to the Shorts area. You can see that I have a bunch of Shorts already saved in my account. Tap on the Record a video button to get started making your video.
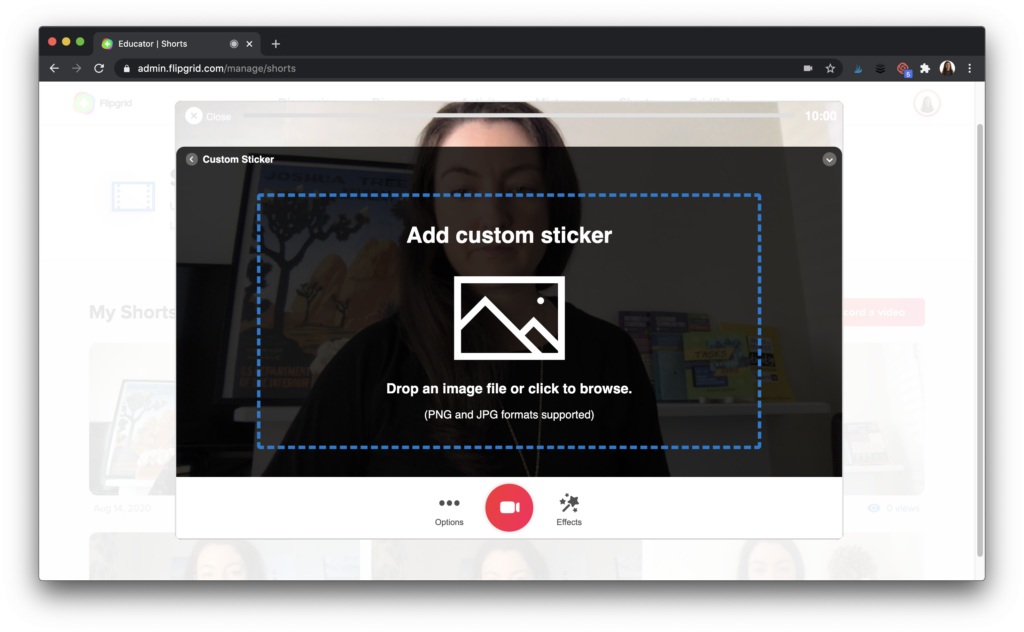
If you’ve used Flipgrid with students before, this screen should look familiar. You have the same options as students for recording your video. The big difference is that this is not part of a grid or discussion space; this is a standalone video. I will use the Sticker option to add the Spark Post graphic I created to my screen.
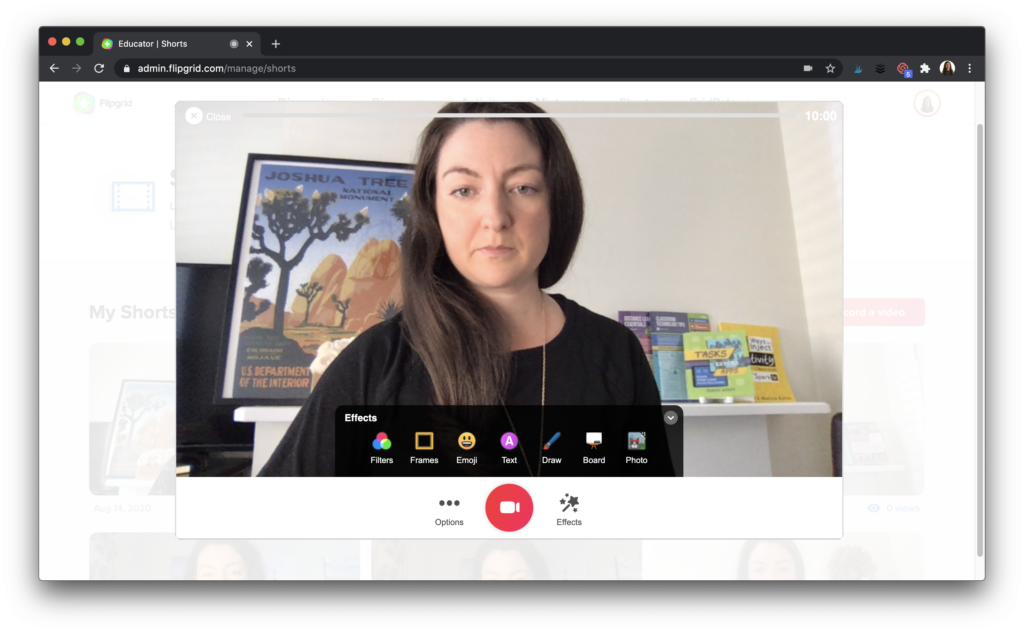
As you can see below, I added a picture file as a sticker on my video. Since I already downloaded the Spark Post graphic from earlier, I am going to add it here to my video by uploading the file.
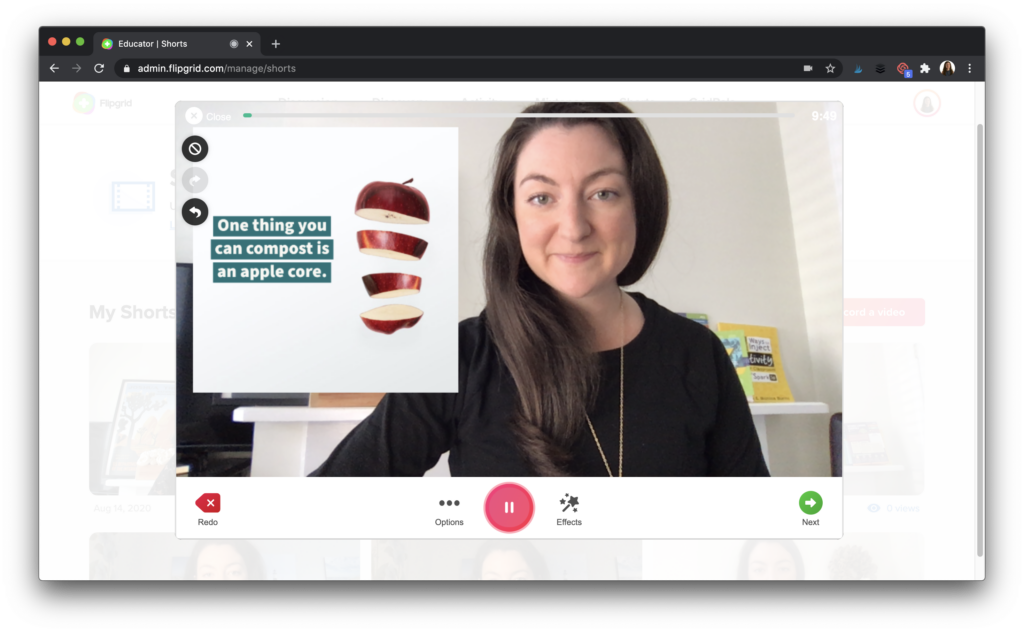
Now I have the graphic next to me and can reference it during my video. If you want to showcase more than one graphic, simply pause the video, delete the image, and upload a new one.
Suppose you’d rather try this combination without getting on video yourself. You can first choose a background like a whiteboard and add the Spark Post graphic on top of that. And of course, you could cover your face with an emoji or even with the graphic you uploaded to the video!
Tips for Instructional Videos
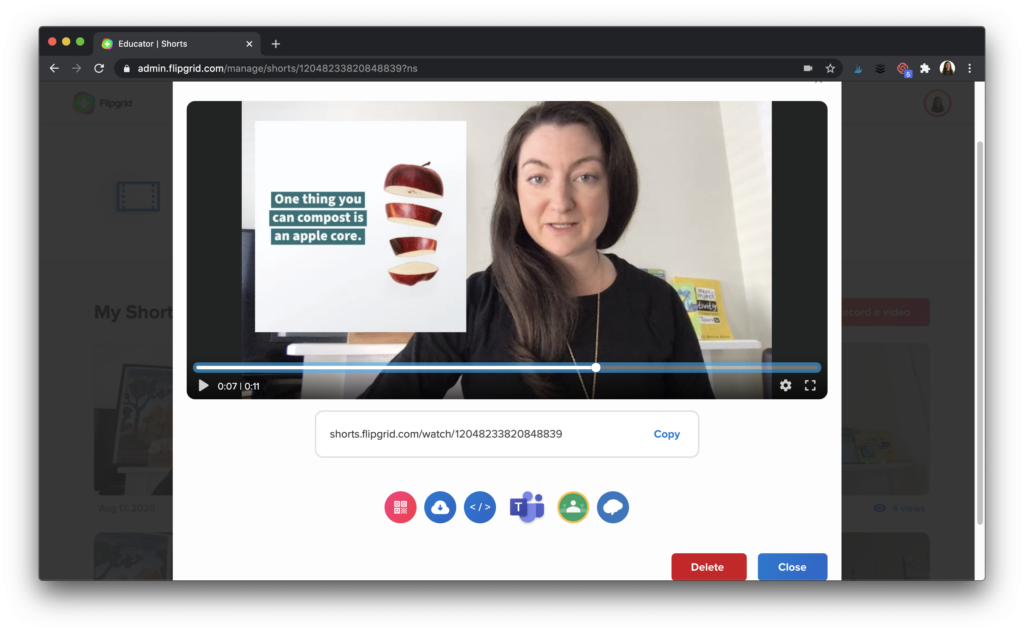
After you finish, you can save your Flipgrid Shorts video to Google Classroom, Microsoft Teams, or anywhere where you can post a link. You could even add the link as a button on a Spark Page creation.
When might you want to use a Spark Post and Flipgrid Shorts combo? Here are a few ideas:
- show off a project exemplar
- celebrate a piece of student work
- use a visual to illustrate a point
The quick steps of making a graphic in Spark Post and creating a Flipgrid Short make this a winning combination! There are lots of ways to use Flipgrid and Adobe Spark together. Check out this post on my blog for another tip, and check out this announcement from Flipgrid and Adobe Spark from earlier this year.
Have you tried Spark Post or Flipgrid Shorts together or separately? Share your experience below!